
How to Remove Shark Bite Fittings in 5 Easy Steps
To remove SharkBite fittings in 5 easy steps, start by turning off your water supply and preparing the area. Drain the pipes and clear enough space to work comfortably. Having the right SharkBite removal tool, such as disconnect tongs or a clip, is essential for an efficient process.
Next, fit the removal tool securely onto the release collar of the SharkBite fitting. Push the tool in until you hear a click, then apply steady pressure while pulling the fitting off the pipe.
Finally, clean and inspect the pipe for any damage before installing a new fitting.
Following these simple steps will help you remove SharkBite fittings quickly and safely. If you want more details, stick around to get the full step-by-step process.
Turn Off the Water and Prepare the Work Area
Before you begin removing SharkBite fittings, make sure to turn off the main water supply to stop any water flow. This essential step prevents leaks and water damage while you work. Next, open nearby faucets to drain residual water and relieve pressure in the pipes.
Clear the work area of any objects or obstructions that could hinder your access to the fitting. Make sure to wipe around the fitting with a towel or rag to keep the area dry and clean. Finally, verify the pipe is fully supported and stable before attempting removal.
Proper support helps avoid damage to the pipe and fitting, making your removal process smoother and safer. Following these steps sets you up for success with SharkBite fittings removal.
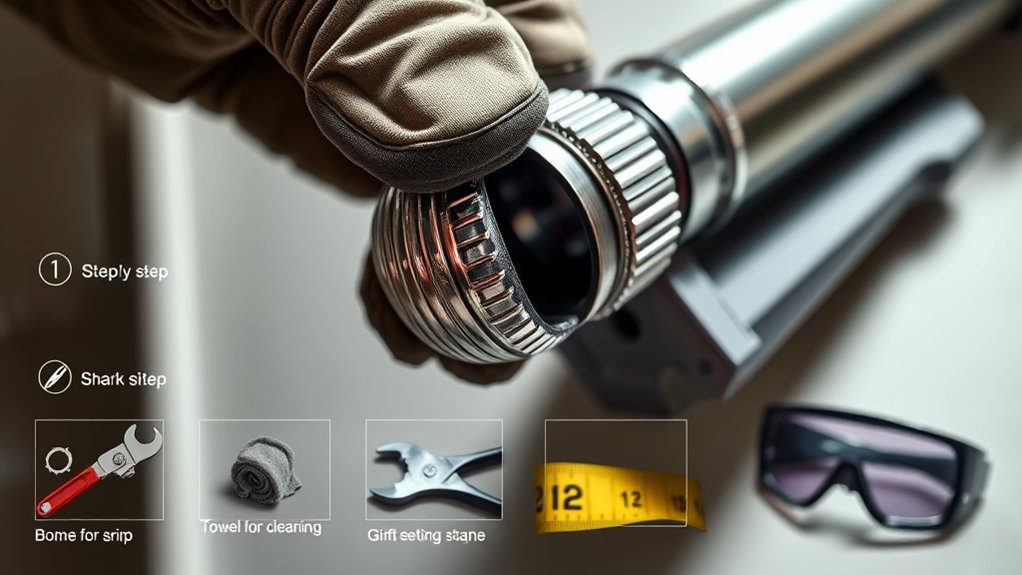
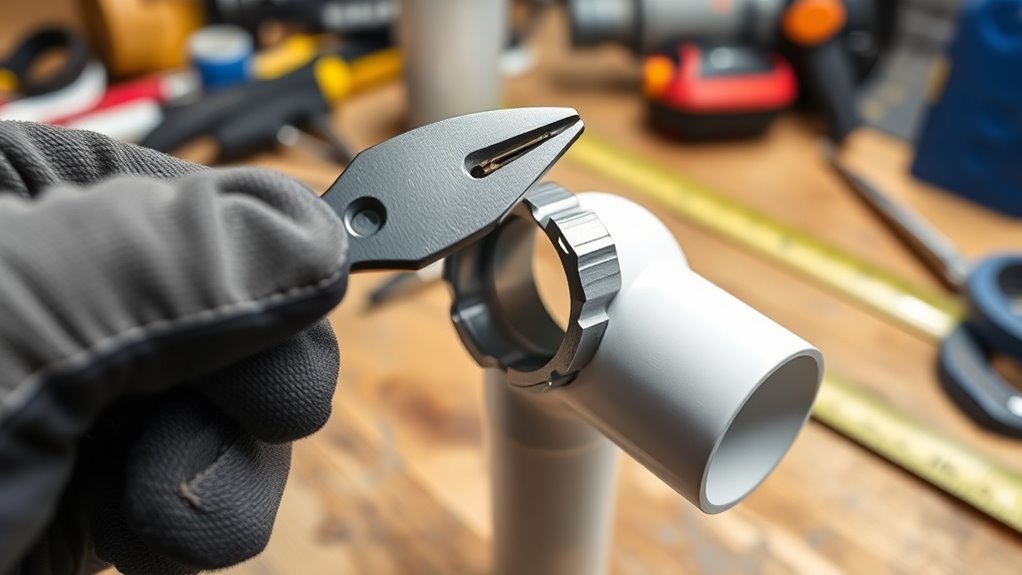
Select the Right Shark Bite Removal Tool
Once you’ve turned off the water and prepared your work area, the next step is selecting the right tool to remove SharkBite fittings effectively. Use SharkBite disconnect tongs or a disconnect clip specifically designed for push-to-connect fittings.
Before applying the tool, make sure the pipe is fully inserted into the fitting; this prevents damage during removal. When positioning the disconnect clip, place it around the pipe with the non-branded face against the fitting’s collar to ensure proper leverage. The tool pushes the release collar inward, allowing you to pull the pipe out smoothly.
Always confirm the fitting and pipe are securely held in the removal tool before proceeding to avoid slips and damage, ensuring a clean, safe disconnection process.
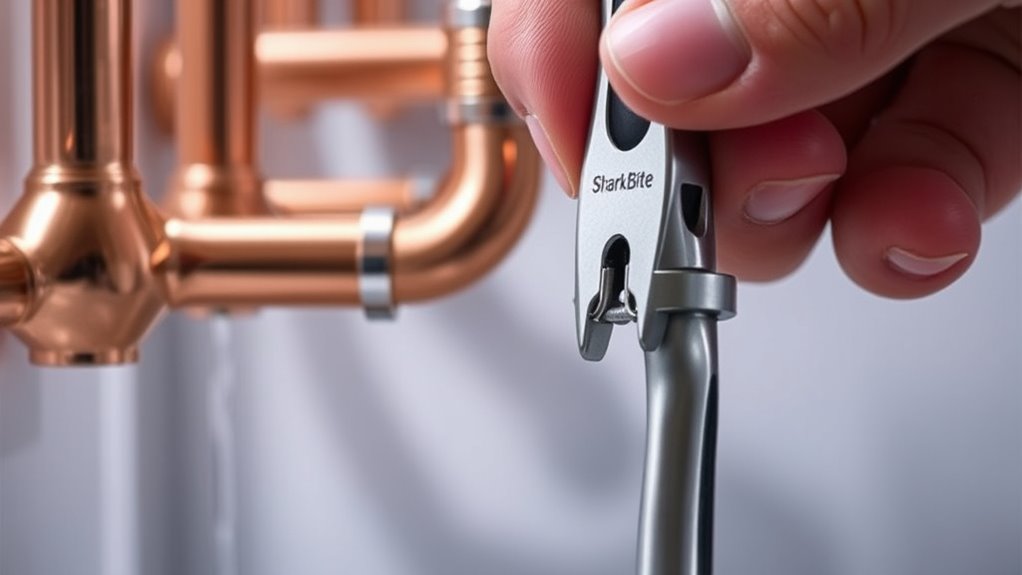
Position and Use the Removal Tool Correctly
When you position the SharkBite removal tool correctly, it engages the fitting’s release collar securely, allowing you to remove the pipe without damage. First, ensure the pipe is fully inserted. Then, place the tool around the fitting’s collar, aligning the release collar with the tool’s opening.
Push firmly until you hear a click, confirming engagement. Check the tool’s arms line up evenly with the collar edges to distribute pressure properly. Apply steady, controlled pressure when pulling the tool away, avoiding any tilting.
| Step | Action | Tip |
|---|---|---|
| 1 | Fully insert pipe | Proper seating is vital |
| 2 | Align tool with collar | Match openings precisely |
| 3 | Push tool until it clicks | Ensures secure engagement |
| 4 | Pull with steady pressure | Avoid tilting or angling tool |
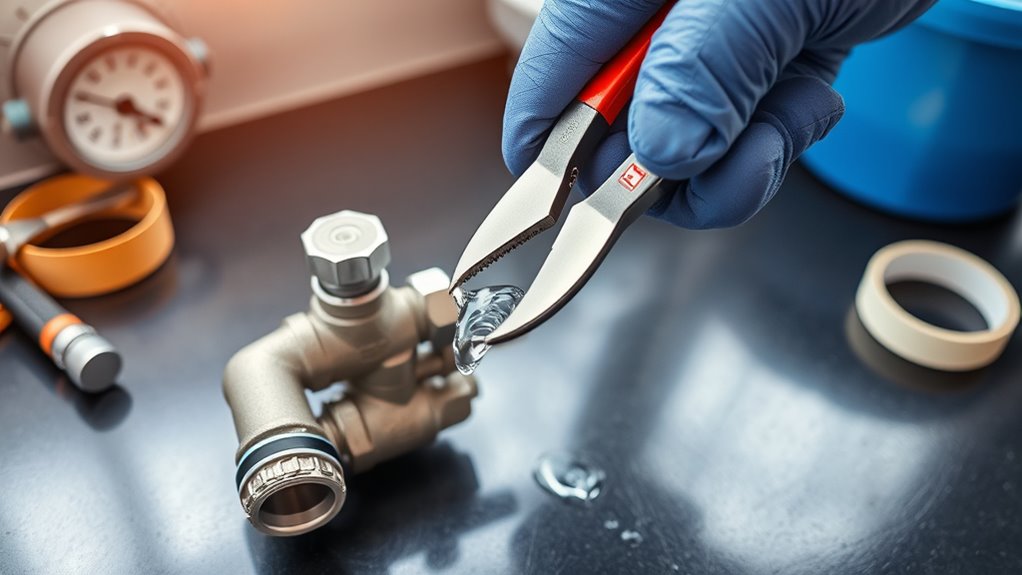
Carefully Remove the Shark Bite Fitting From the Pipe
Although the pipe must be fully seated in the fitting, you should use a SharkBite disconnect tool or disconnect tongs to carefully release the fitting without causing damage. First, place the disconnect clip around the pipe, ensuring the non-branded face rests against the fitting’s collar. Then, push the collar in firmly to disengage the fitting from the pipe.
Be careful not to pull or twist the pipe or fitting before releasing the collar, as this can cause leaks or damage. Applying steady, controlled pressure on the collar will safely free the fitting. Once released, gently slide the SharkBite fitting off the pipe.
Taking these careful steps ensures the pipe remains intact and ready for your next installation or repair.
Inspect and Clean the Pipe Before Installing a New Fitting
Before you install a new fitting, make sure to thoroughly inspect and clean the pipe. Start by wiping the pipe surface with a damp cloth to remove dirt, grease, and debris that could prevent a proper seal. If you’re working with copper pipes that have old solder, gently sand the area with 180-grit sandpaper or use a deburring tool to remove oxidation and leftover solder.
Next, check for scratches, gouges, or sharp edges and smooth them out with a deburring tool to avoid damaging the new fitting. Finally, verify the pipe is completely dry and free of moisture before connecting the new fitting. This careful preparation helps guarantee a secure, leak-free connection every time.
Frequently Asked Questions
How to Take off Sharkbite Quick Connect Fittings?
You’ll need SharkBite disconnect tongs or a clip. Press the release collar firmly while holding the pipe, then gently pull the pipe straight out.
Don’t twist or pull without releasing the collar first to avoid damage.
How to Remove Sharkbite Fitting Without Tool?
You don’t need a fancy tool; just push the release collar with your fingers and pull the pipe straight out. Surprise, right?
Wiggle gently if it resists, but don’t twist or force it—easy does it!
How Do I Release a Push Fitting?
You release a push fitting by pushing the release collar inward while holding it down, then gently pulling the pipe straight out.
Make sure the water’s off and the line’s depressurized before you start.
Can Sharkbite Fittings Be Removed and Reused?
Yes, you can remove and reuse SharkBite fittings if they’re undamaged and clean. Just use the proper disconnect tool, and inspect for cracks or debris.
But remember, replacing them guarantees a more reliable, permanent seal.
Conclusion
Now that you know how to turn off the water and prepare your workspace, choose the right removal tool, position it properly, and carefully take off the shark bite fitting, you’re ready to inspect and clean the pipe for a fresh start.
Follow these steps, stay patient, and work confidently. Removing shark bite fittings doesn’t have to be tricky—it can be quick, efficient, and hassle-free when you do it right.
By mastering how to remove shark bite fittings, you ensure a smooth plumbing repair process and maintain the integrity of your pipes for long-lasting results.