How to Make a Shark Tooth Necklace in 5 Easy Steps
To make a shark tooth necklace in five easy steps, first gather your materials like a real or faux shark tooth, cord, and jewelry tools. Creating a shark tooth necklace is a fun and rewarding craft project that allows you to showcase a unique piece of jewelry.
Next, shape and harden the pendant, smoothing edges as needed.
Then thread the cord through the tooth securely and tie knots or attach a clasp.
Finish by buffing and sealing for comfort and durability.
Finally, adjust any fittings for a perfect hang and wear.
Keep going to uncover helpful customization tips and tricks.
Gather Materials for Your Shark Tooth Necklace
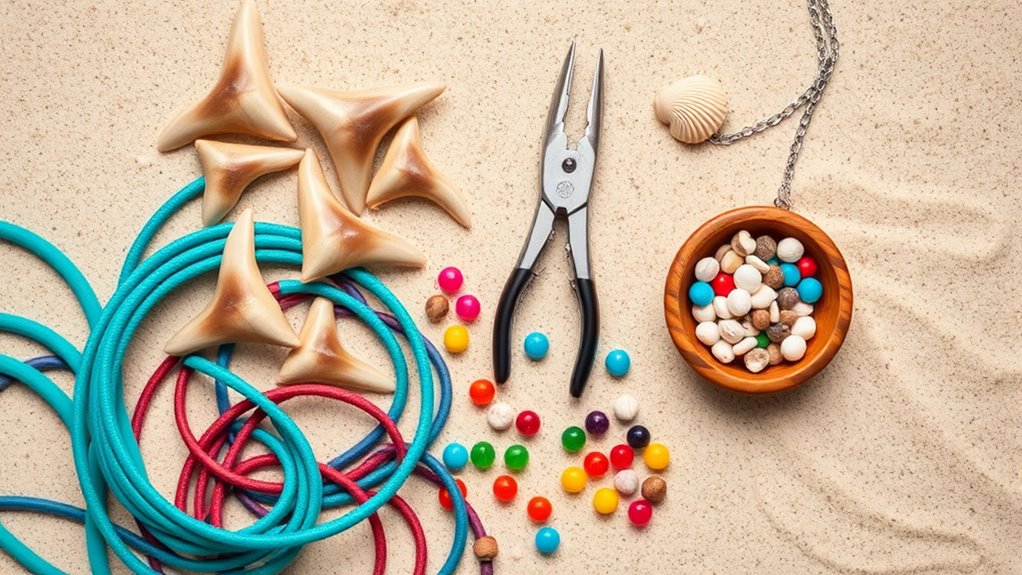
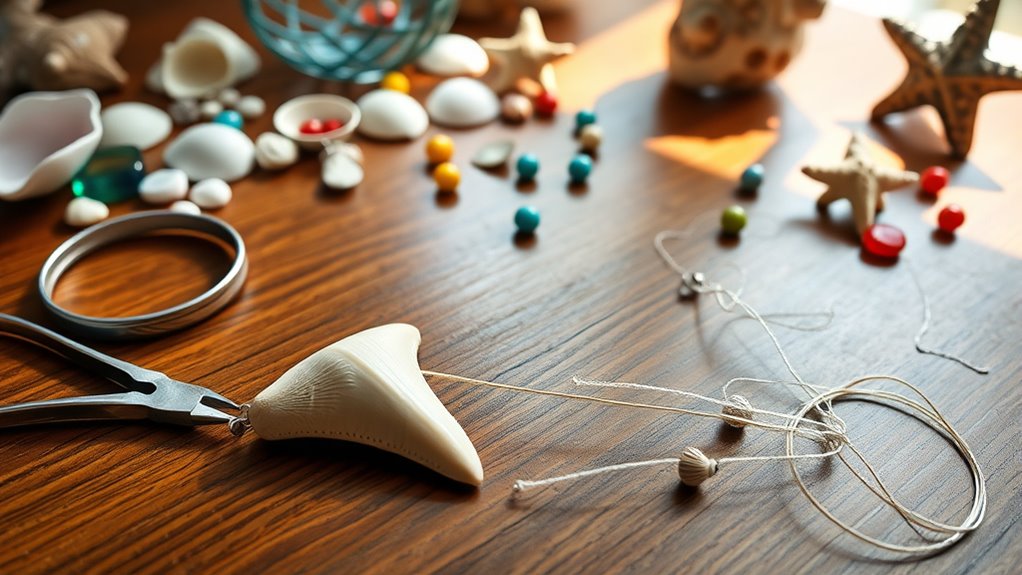
Before you begin crafting your shark tooth necklace, gather all the necessary materials to guarantee a smooth process. Start by selecting a real shark tooth or a realistic replica to bring authenticity to your design. Choose string options like waxed cotton, hemp cord, or a fine chain that suits your style and ensures visual balance with your shark tooth pendant.
Don’t forget tools such as a drill or wire wrapping supplies to secure the tooth and bring durability behind the tooth. Clean and lightly sand the teeth to smooth rough edges, making your necklace comfortable to wear. Consider the necklace length—choker, princess, or matinee—to complement the size of your shark tooth.
Whether it’s Shark Week or any day, preparing these essentials sets you up for success.
Shape and Harden Your Shark Tooth Pendant (Real or Faux Options)
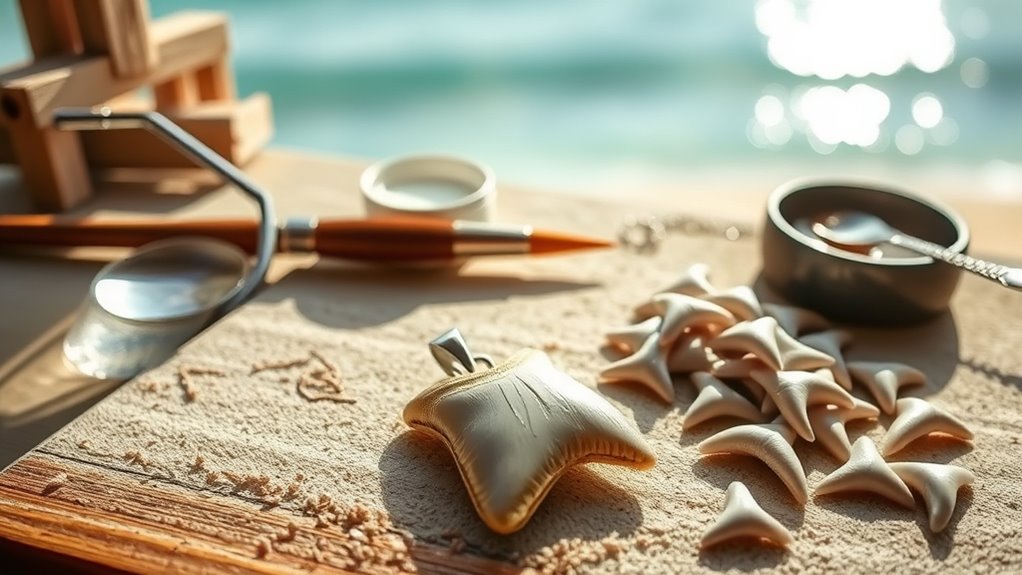
While authentic shark teeth are already tough and need little more than cleaning, shaping and hardening your pendant becomes essential when working with faux materials like clay or dough. Start by molding your faux tooth into the desired shape, then use a pencil to carefully create a small hole at the top for threading.
Follow the baking or air-drying instructions specific to your material to fully solidify the pendant. Once hardened, smooth any rough edges with fine grit sandpaper or a file to achieve a polished, comfortable finish.
For real teeth, you can also create the hole gently if needed and smooth edges slightly for comfort. This shaping and hardening step ensures your shark tooth pendant is both durable and ready for the next steps in necklace making.
Thread and Secure Your Shark Tooth Necklace Cord
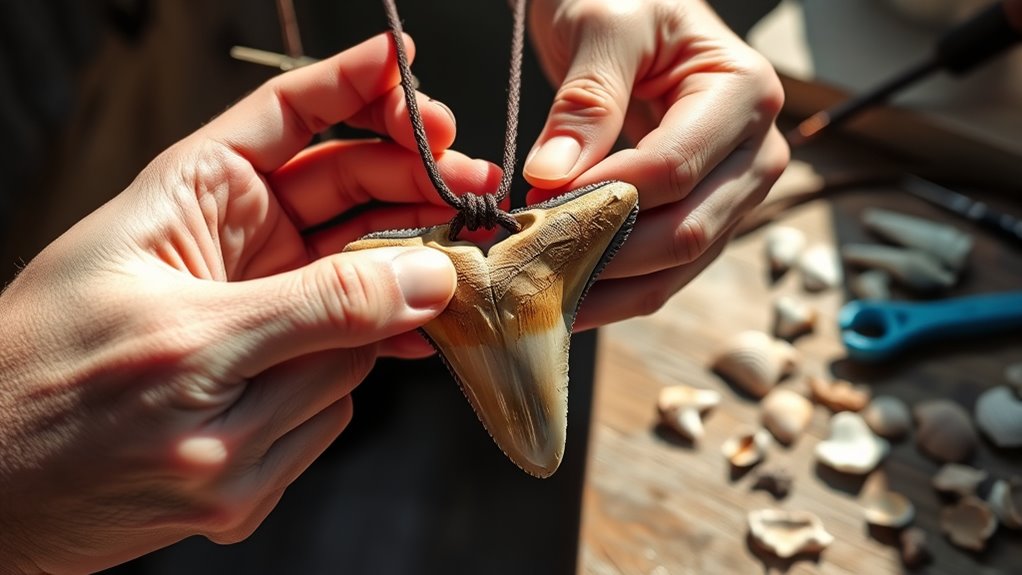
Once you’ve prepared your shark tooth pendant, choose a strong cord or chain that can support its weight without breaking. Make sure the cord matches the size of your tooth for proper support. Thread the cord through the hole or bail in your shark tooth, positioning it so the tooth sits centered and faces forward.
If you’re using a chain, attach the pendant with jump rings, ensuring these rings are closed tightly to avoid slipping. Next, tie secure knots at both ends of the cord—sliding knots work well for adjustability, or bow knots for extra security. Adding a clasp or adjustable closure will let you wear and remove the necklace easily.
These steps ensure your shark tooth necklace stays both secure and stylish.
Finish Your Necklace for Comfort and Durability
To make your shark tooth necklace comfortable and long-lasting, start by sanding the rough edges with fine grit sandpaper (800–1200 grit) to smooth out any sharp spots. Buff the high points on the tooth to create a snag-free surface that won’t irritate your skin. After sanding, rinse the tooth gently to remove dust and debris.
Smooth rough edges with fine sandpaper and buff for a comfortable, snag-free shark tooth necklace.
Then, apply a microcrystalline wax or sealant to enhance its shine and protect against moisture without compromising its natural look. Avoid soaking the tooth in harsh chemicals or over-polishing, which can reduce durability.
To finish your necklace for comfort and durability:
- Smooth all edges carefully to prevent scratches
- Seal the tooth to preserve its natural character
- Keep polishing minimal to maintain strength and shine
Customize and Troubleshoot Your Shark Tooth Necklace
After smoothing and sealing your shark tooth for comfort and durability, you can personalize its look and fix any hanging issues. If the tooth tilts or hangs awkwardly, adjust the bail or jump ring position. Use two pliers to open and close jump rings seamlessly, preventing gaps.
Choose ring sizes fitting both the tooth and the cord thickness to avoid looseness. Secure cords with epoxy in end caps, allowing full curing to stop slipping. Always test fit and comfort by tugging gently and checking for skin irritation before wearing.
| Problem | Solution | Tip |
|---|---|---|
| Tooth tilts | Adjust bail/jump ring position | Use two pliers for precision |
| Loose ring | Choose proper ring size | Match ring to tooth and cord |
| Cord slipping | Fill end caps with epoxy | Allow full curing before use |
Frequently Asked Questions
How to Create a Shark Tooth Necklace?
You choose a clean shark tooth, then either drill a hole or wrap wire tightly around it. Attach a bail or loop, thread it onto a cord or chain, secure the clasp, and adjust length to wear comfortably.
How to Craft the Shark Tooth Necklace?
You start by selecting a shark tooth and either drilling a small hole or wrapping wire around it.
Then, attach it to a cord with a jump ring or wire, add a clasp, and make sure everything’s secure.
How to Make a Necklace at Home Step by Step?
Did you know 70% of jewelry buyers appreciate handmade pieces? Start by choosing your materials, then cut your cord, attach your pendant securely,
add a clasp or knot, and finish by checking comfort and balance before wearing.
How to Craft a Sharp Shark Tooth Necklace?
To craft a sharp shark tooth necklace, wrap wire securely around the tooth’s crown. Drill a small hole if needed to ensure a tight fit.
Attach a bail or jump ring to the tooth. Reinforce the attachment with jewelry glue for extra security. Then hang the tooth on a chain or cord to complete the necklace.
Conclusion
Now that you’ve crafted your shark tooth necklace, it’s time to wear your creation like a badge of adventure.
With every step, your necklace will catch the light and tell a story as sharp and unique as the tooth itself. Remember, a little customization can turn a simple pendant into a personal treasure.
So plunge in, make it your own, and let your necklace shine like a beacon of your creativity and style. By following these easy steps, your shark tooth necklace will not only be a stunning accessory but also a meaningful keepsake that reflects your spirit of adventure and craftsmanship.